









En este artículo
If you are looking for viewpoints in Vejer and places to take photographs, it is worth treating the walk as a flexible route. Stopping at a panoramic viewpoint is not the same as looking for a doorway, façade or narrow street, and each stop may require a different pace.
This guide brings together four references already published on Vejer.com.es: Mirador del Santo, Mirador de La Cobijada, Puerta Azul and Rincón del Beso. The order and effort details in the table are provisional until they have been checked on site. They should not be understood as confirmed times, distances or access conditions.
How to plan a photography route through Vejer
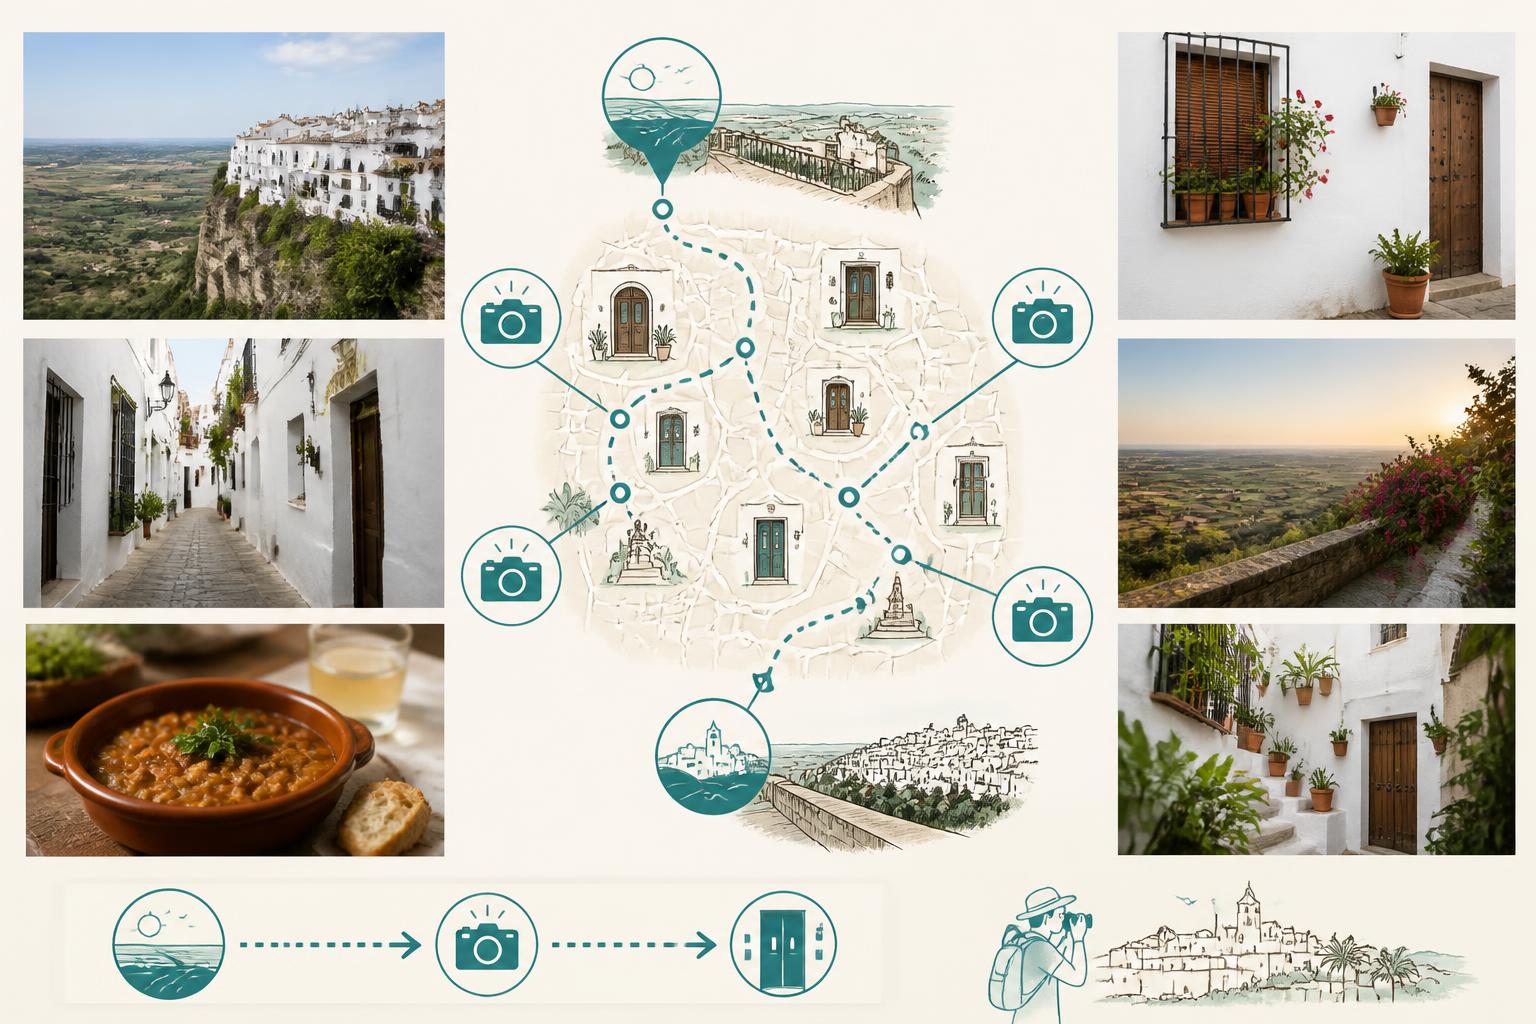
The most practical way to organise a photography route is to group the points by proximity and by the type of image they offer. This allows you to concentrate panoramic views in one part of the walk and leave façades, doors and architectural details for streets where it makes sense to walk more slowly.
It also helps to decide what you want to photograph. If you are looking for landscapes, you will need time to study the framing and the conditions on the horizon. If you prefer architecture, shadows, textures and the relationship between a façade and its surroundings may matter more.
Before following a fixed itinerary, check the exact position of each stop, pedestrian access, slopes, paving and any signs or restrictions. Without this review, a route with specific kilometres or minutes would create a false sense of precision.
- Choose the type of photography first: panoramic, street, façade or detail.
- Group nearby points together when that proximity has been verified.
- Leave enough room to stop without blocking streets, doors or passageways.
Route stops: viewpoints and visual points of interest
The four references do not serve the same purpose. Viewpoints open up the frame and allow you to observe the landscape or the town, while the other two suggestions work better as examples of architecture and street composition. This difference should also appear in the table and on the map.
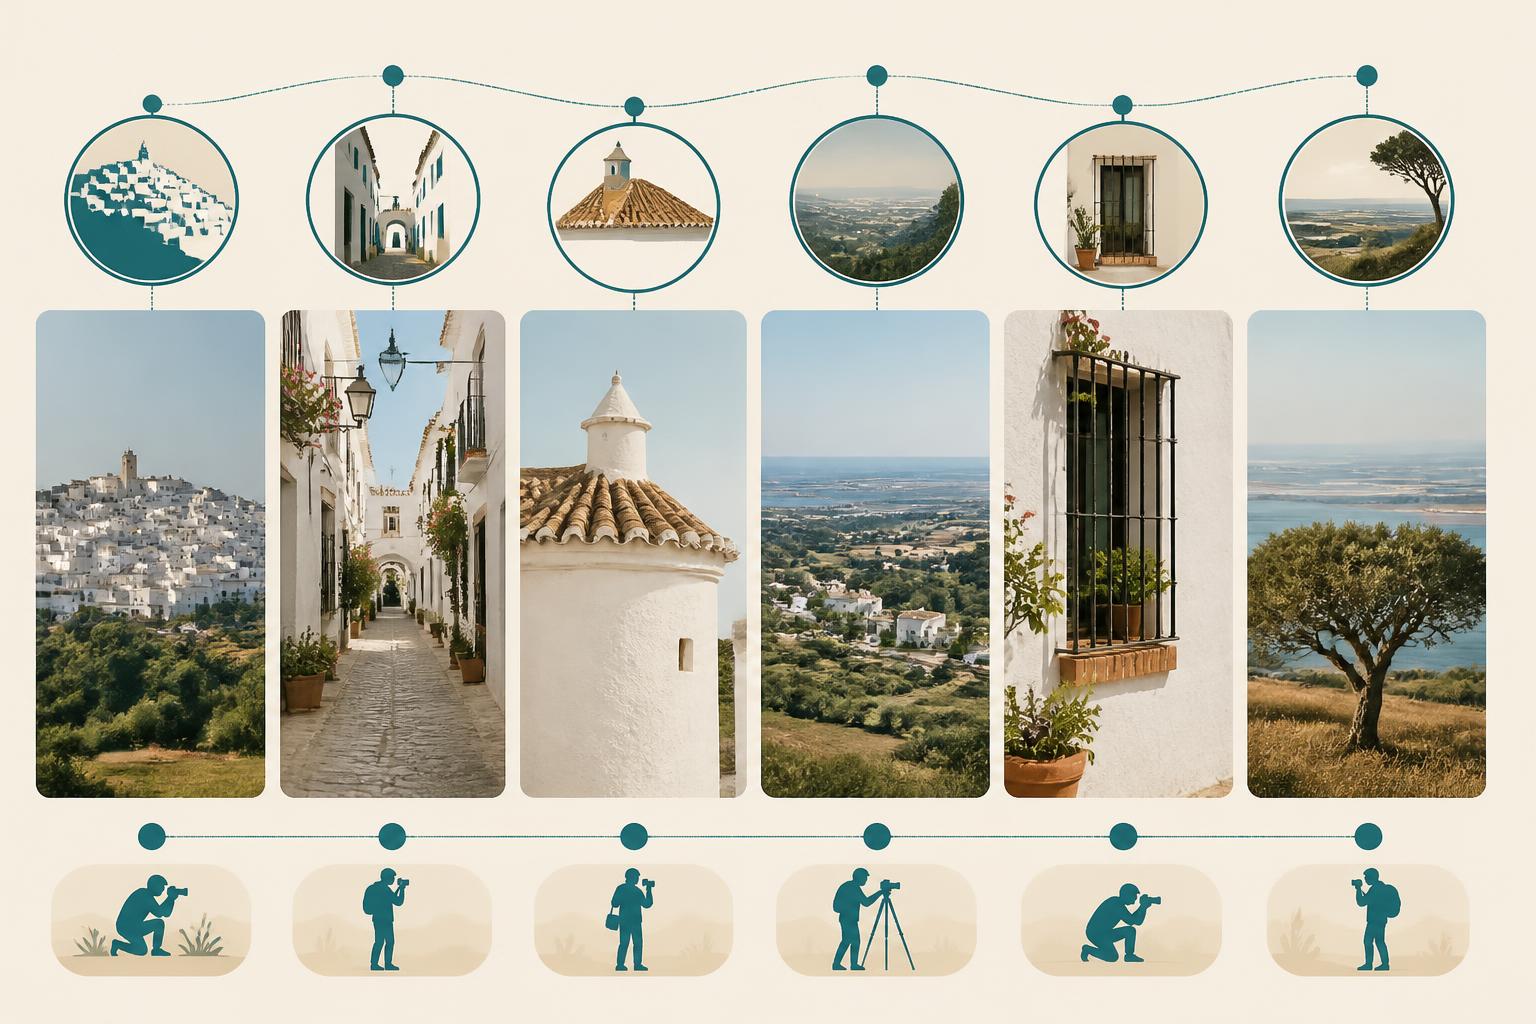
Each stop calls for a different way of looking. At a viewpoint, the breadth of the scene and visibility are important. On a narrow street, a texture, a door or the contrast between façades may carry more weight.
The linked guides can help you find out more about each point, but they do not replace checking information that may change over time. Before presenting the route as a complete walk, review access, signs and any possible limitations of the space once again.
Viewpoints in Vejer
Mirador del Santo and Mirador de La Cobijada are the two stops in this proposal intended for more open views. At each one, it is useful to observe which parts of the surroundings are visible and how much room there is to stop.
It is not advisable to claim that one offers the best panorama or to set a universal time for taking photographs. Orientation, cloud cover, wind and visibility can all change the result. Also check whether the planned access is comfortable for everyone in your group.
Photogenic corners in Vejer
Puerta Azul and Rincón del Beso should not be presented as viewpoints. Their interest lies in the relationship between the door, the façades, the street and the framing you can achieve without disturbing the normal activity of the place.
If they are next to homes, avoid leaning equipment against walls, blocking entrances or setting up accessories in a narrow area. Photography recommendations should always remain secondary to respecting residents, visitors and private property.
Route table: order, effort and type of framing
The following table turns the four references into a working structure. The order is provisional because no measurements or in-person checks have been provided. The label “to be verified” is not incomplete information to hide; it shows what needs to be reviewed before publishing a definitive route.
| Provisional order | Stop | Type of point | Framing you can look for | Effort and access | What to check |
|---|---|---|---|---|---|
| 1 | Mirador del Santo | Viewpoint | Open or surrounding view | To be verified | Access, paving, slope and space to stop |
| 2 | Mirador de La Cobijada | Viewpoint | Panorama or urban view | To be verified | Position in relation to the previous stop and visibility |
| 3 | Puerta Azul | Door and façade | Medium shot and detail | To be verified | Circulation, privacy and whether stopping is possible |
| 4 | Rincón del Beso | Urban corner | Street and architectural composition | To be verified | Access, width of the passage and surrounding conditions |
The order above is useful for planning the checks, not for claiming that it is the shortest or easiest route. The final version should add the distance between stops, estimated time, total elevation gain and observations gathered during the visit.
The table works as a planning template, not as a technical information sheet. For a short visit, choose one of the two groups: viewpoints or urban corners. If you have more time, combine both only after confirming that the routes are reasonable for your group.
Schematic map of the proposal
An editorial map can show the four stops with a simple key: one symbol for viewpoints and another for photographic corners. It should not draw streets, distances or exact connections until the location of each point and the pedestrian route linking them have been checked.
A diagram is not the same as a navigation map. Until that verification has taken place, it can only be used as a grouping guide. This distinction prevents a visual representation from appearing more precise than the available information.
When preparing the route, note which locations need additional checking. You can also indicate whether a stop seems suitable for a wide shot, a vertical composition or an architectural detail, as photographic guidance rather than a guarantee about the conditions on site.
When to take the route and how to use the light
The right moment depends on the type of image, not on one universal time. A panorama needs visibility and an unobstructed frame, while a white façade can look very different in direct light or shade. First observe the place, then decide where it is worth stopping.
Heat, wind and cloud cover affect both comfort and photography. Check the forecast before setting out and keep the itinerary open to change. If conditions worsen, reducing the number of stops may be more useful than trying to complete the entire route.
What time of day might work best for photographing Vejer?
To choose the timing, consider the orientation of each point and the type of light you want. Narrow streets may remain in shade for part of the day, while an open view may depend more on the visibility of the surrounding landscape.
If you do not know the route, an initial observation walk can help you decide where to return. Note shaded areas, wind and possible compositions, but do not present that impression as a rule that applies to every date.
How can you adapt the route in heat, wind or changing weather?
In hot or windy conditions, reduce the number of stops and avoid turning the route into a race. Also make sure your equipment remains stable and that you do not have to occupy the passage while preparing a photograph.
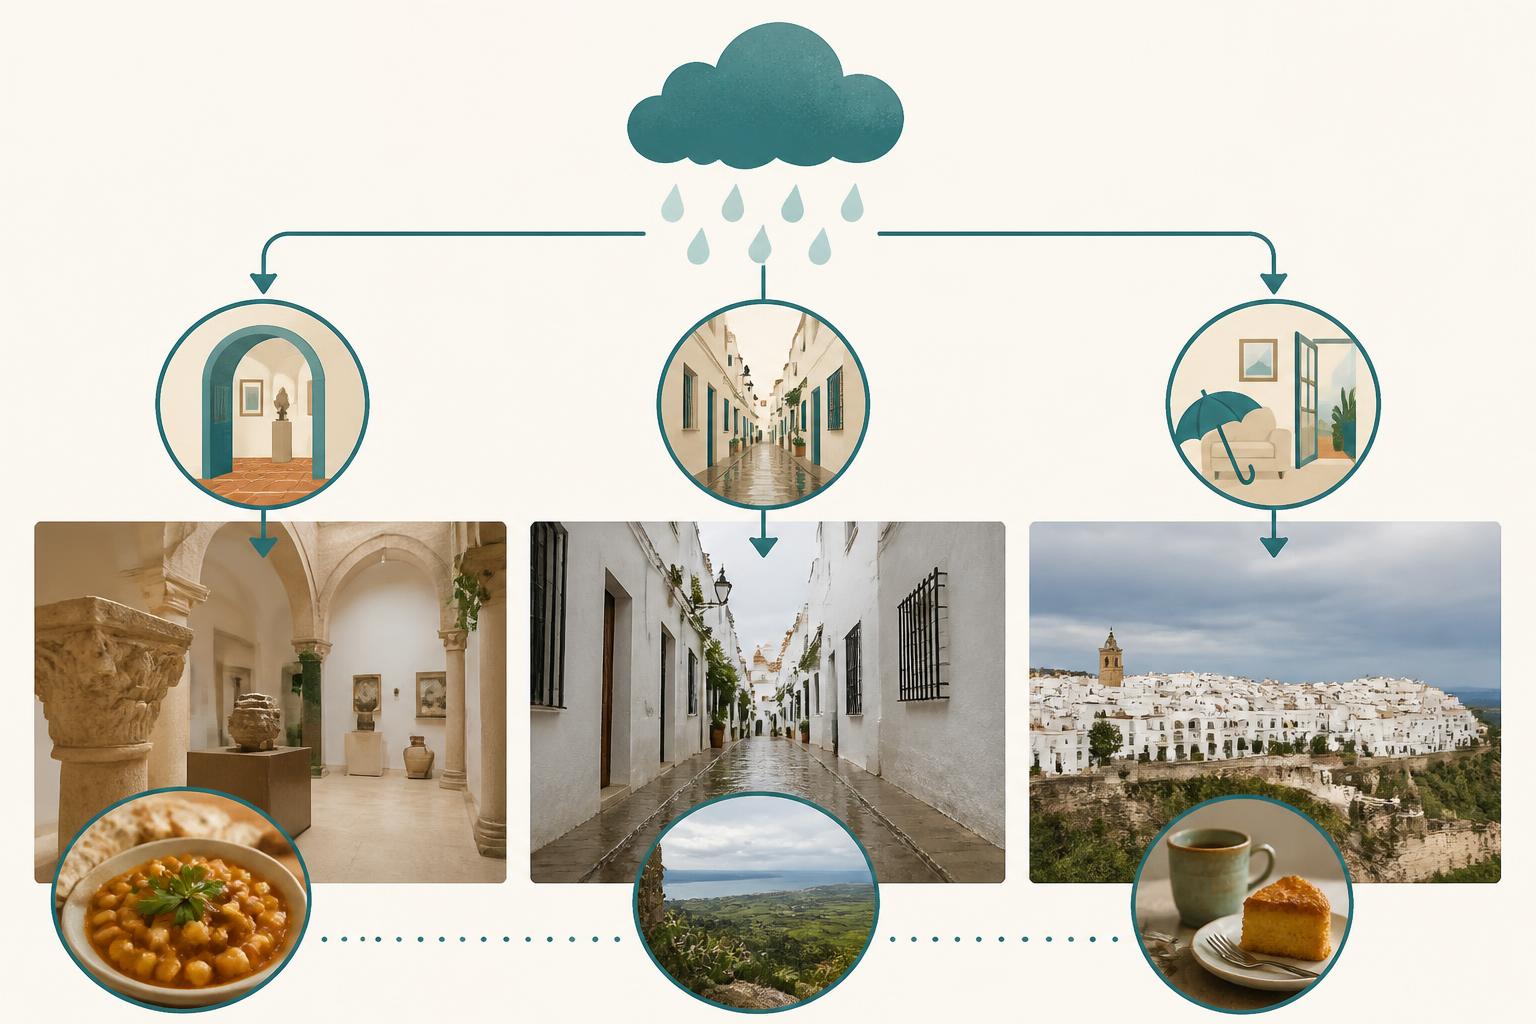
If it rains, you can postpone the open views and reorganise the day. In that case, also consult this guide to things to do in Vejer when the weather changes and adapt the order to the real conditions, without assuming that a particular place will be available or open.
Tips for photographing Vejer respectfully
Some photographic points may be on residential streets or beside the entrances to homes. The fact that a façade appears in a guide does not mean that you can stay there indefinitely, enter private property or turn the passage into a photo-shoot area.
Prepare your composition while taking up as little space as possible, and remove your tripod if it makes circulation difficult. Avoid photographing details that reveal the privacy of a home. When identifiable people appear as the main subjects, ask for their consent before publishing the image.
The comfort of people who live in or pass through the area should come first. Respect signs, closures and instructions you find during the visit. Do not move decorative objects, remove anything from a façade or block a door in order to take a photograph.
- Check access and the conditions at the point.
- Prepare the composition without occupying the whole street.
- Do not enter private property or expose private information.
- Leave the place as you found it.
With these precautions, the route can help you get to know Vejer more calmly and distinguish between landscapes, architecture and everyday life. Before publishing it as a fixed itinerary, update the table and map with the locations, connections, timings and conditions that have actually been checked.